Core Rules
Welcome to the official rules for Skitterbarren! This will explain how to run and play the game!

Dice System

Skitterbarren uses a 3d6 dice system for all rolls. This also requires the use of 2d6s in one color and 1d6 of another. For example, you might have two yellow d6 and and one purple d6 like below:

In combat, attacks are determined by rolling the three d6, combining their total, and then adding and subtracting any attribute, skill, and conditional modifiers. A successful attack must pass a numerical threshold determined by the target's Defense Rating (described below). If the attack is successful, the next step is to calculate damage dealt to the target. This is calculated by the lone-colored d6, which is further modified by any relevant damage modifiers. This allows an entire attack action in Skitterbarren to be a singular roll and cuts down on having to pile up many differently-sized dice.
In roleplay scenarios, any action requiring a roll will also be accomplished with three d6, plus or minus any skill, attribute, and conditional modifiers.
Skill & Attribute Checks
One of the main uses for dice rolls in Skitterbarren is to determine success and failure for certain actions. This is done via skill or, on occasion, attribute checks, where the player rolls 3d6 and adds and subtracts modifiers from their available skills and attributes, as well as conditional modifiers applied by the circumstance or by status effects. The player can state their desire for their character to take an action. The Game Master will then decide whether there should be a dice roll to determine the outcome. The choice of which modifiers to add or subtract is also made at the Game Master's discretion through examining the situation and deciding on the most relevant modifiers. The dice roll will then have to contest a Difficulty Rating, described below.
Difficulty Rating
Difficulty Ratings are numerical requirements to perform clearly stated actions that demand some degree of effort or challenge. These numerical requirements are decided by the Game Master and will be tested with a dice roll, plus any applicable modifiers. As stated in the above section, “Skill & Attribute Checks,” these modifiers include both skills and attributes and are decided by the situation and judgment of the Game Master, and are then agreed upon by the player.
Matching or surpassing the Difficulty Rating’s numerical value with a dice roll constitutes a success, granting some or all of the desired outcomes. Rolling below the Difficulty Rating’s numerical value results in failure, granting little if any of the desired outcome.
For example, a player may wish to scale a cliff face to gain a better view of their surroundings. The Game Master describes the cliff as being precarious and untested — as such, they set the Difficulty Rating to 10 and inform the player that the action will require an Exertion skill check. The player examines their character sheet to see that they have an impressive +5 in Exertion, and so decides to test their luck and attempt the climb. They roll 3d6 + Exertion modifier. The three six-sided dice land on a 4, 1, and 2. With the added value of 5 from their Exertion modifier, they achieve a total of 12 — two more than the Difficulty Rating. They succeed!
Upon reaching the top of the cliff, they then wish to examine their surroundings for a point of interest, like a ruin or village. The Game Master decides that the player will need to make an Awareness skill check with a Difficulty Rating of 7. The player rolls 3d6 + Awareness modifier. The three six-sided dice land on a 1, 2, and 1 respectively. With their Awareness modifier is only 1, meaning the roll totals 5. Unfortunately, they did not meet the Difficulty Rating’s value and thereby failed the skill check. The Game Master informs the player that they could not spot anything of interest due to the distant haze from the desert sands, possibly leading to the player or party overlooking something valuable. Oh well! Better luck next time!
Difficulty Ratings can generally be ranked by the ease of success or, conversely, failure. Difficulty ratings with lower numerical values are typically easy or trivial. Higher numbers are difficult, if not impossible unless under the best of circumstances.
| Difficulty Rating | Challenge |
|---|---|
| 6 | Very Easy |
| 7-10 | Easy |
| 11-13 | Moderate |
| 14-17 | Hard |
| 18+ | Harrowing |
Success & Failure
Skitterbarren’s scope of success and failure is not binary. There are varying degrees of success and failure, left to the discretion of the Game Master depending on how good or bad the dice roll was. Additionally, while rolling above or below a given Difficult Rating dictates success and failure, a minimum or maximum roll provides additional costs or benefits: When the lone-colored d6 lands on a 6, this is called an Encouraging Outcome. Encouraging Outcomes do not guarantee success, should the roll and any relevant modifiers still fail to meet the Difficulty Rating of the skill or attribute check — but, it will provide the party with a resource known as a Boon. When the lone-colored d6 lands on a 1, this is called a Discouraging Outcome. Discouraging Outcomes may not fail if the roll and relevant modifiers still surpass the Difficulty Rating, but it does provide the Game Master with a resource known as a Blunder.
Boons & Blunders
Boons and Blunders are cumulative resources collected by the party and by the Game Master, respectively. These resources can be spent at any juncture to affect the outcomes of dice rolls. Boons are collected by the player party whenever they achieve an Encouraging Outcome, as described in the above section. The party has a collective maximum pool of 4 Boons at any given time, though this can be modified by certain background, class, or lineage traits. Players within the party can use Boons at any time, which will provide them with the following options: Blunders are collected by the Game Master whenever players incur a Discouraging Outcome, as described in the above section. The Game Master can collect a total of 4 Blunders when party levels are 3 and below, and 5 Blunders when the party levels are 5 and above. choose to expend them to weaken any player’s attack roll, skill or attribute check, or doom check with 1d4. The GM can use Blunders at any time, which will provide them with the following options:
Boon Effects
You can use a number of boons to achieve the following effects:
| Boon Effect | Cost | Description |
|---|---|---|
| Exploding Success | 2 | Your recent successes bolsters your confidence and your strength, enhancing a single blow. You're able turn your normal hit into a critical hit. |
| Foil Fate | 4 | Just once, you are able to stop an allied party member or NPC from dying. |
| Outstanding Dodge | 2 | Momentum of your past successes carries you. You avoid an incoming attack or trap that was just about to hit you. |
| Perfect Timing | 3 | You choose to act out of turn, interrupting the initiative order. This doesn't consume your turn. |
| Try Again | 1 | Not this time! You can keep the successes flowing by re-rolling a failure, though you must take the new value. |
Blunder Effects
You can use a number of boons to achieve the following effects:
| Blunder Effect | Cost | Description |
|---|---|---|
| Collateral Damage | 3 | On a failed attack or roll, 3 blunders can cause a piece of a player's equipment to break, needing repair before becoming useful again. |
| Dark Ripple | 4 | Something in the world gets worse; a town is attacked, roads are closed, a faction rises... |
| Lost Leverage | 2 | While interacting with NPCs, a blunder causes a loss in social standing; negotiations sour or a helpful NPC backs off. |
| Sieze Up | 3 | Enemies can ascend to the top of the Initiative Order, regardless of Initaitive rolls. |
| Time Crunch | 3 | A new, unforeseen clock begins ticking; a dark ritual nears completion, a bomb might go off, or walls begin to collapse. |
Combat Basics
Combat Overview
When players are engaged in a fight, a combat encounter begins. Combat is structured around a cycle of six-second rounds. Within each round, every participant engaged in combat takes a turn. The order by which participants take their turns is determined at the onset of an encounter when everyone rolls for Readiness. During turns, participants are given a pool of three Energy Points, which they may consume to perform a variety of actions. Once everyone has taken their turn, the combat continues to the next round. This cycle repeats until the encounter is resolved. An encounter is typically resolved when one side of combat is defeated, or when some other objective determined by the Game Master is achieved.
Initiative
Initiative determines the order in which combat participants take their turns. At the start of a combat encounter, the Game Master and each player roll 3d6+ Wits to determine their characters’ Initiative. Participants with higher rolls are placed in the Initiative order sooner, and lower rolls go last.
Surprise
During play, your party or your opponents may attempt stealth before a fight to create an ambush. If stealth was successful, the Game Master might apply the status condition called Surprise to anyone unaware of the ambush. This status condition lasts for the duration of one round, during which the participants afflicted with Surprise will be unable to take any actions, cannot move, or perform a Reaction.
Actions
On your turn in combat, you can take as many actions as your allotted Energy Points will allow. These include the general actions listed here; lineage, background, or class features; spells; and movement.
Attack Actions
A common action in combat is an Attack action, which can be accomplished in either melee or ranged. Attack actions consume only 1 Energy Point, potentially permitting multiple attacks in a row. However, the Successive Attack Penalty makes each successive attack less likely to connect. In the Making Attacks section, more detail is provided.
Spellcasting
Wyrdos, as well as some monsters and other foes, can cast spells to accomplish unnatural outcomes in combat. Each spell has an associated Energy Point cost stated in the spell description, with some even costing all three of a turn’s allotted 3 Energy Points.
Withdrawal
By default, a Withdrawal action allows you to move without incurring Reaction Attacks against you at the cost of 3 Energy Points. Some classes may change this cost.
Hide
Combat participants may take the Hide action, which prompts an Artifice check in an attempt to hide as indicated in the rules for Stealth. Upon success, you gain the benefits of Stealth, as listed in the Stealth section. By default, a Hide action costs 3 Energy Points, though some classes may reduce the cost.
Assist
An Assist action can be used by a combat participant to aid their ally in the completion of a task, at the cost of 3 Energy Points. This can be done in one of two ways:
- A combat participant may expend an Assist action to aid their ally in the completion of an attribute or skill check, provided this occurs before the start of their next turn.
- A combat participant may expend an Assist action to aid their ally’s next attack, so long as both the ally and their target are within 5ft of them. This is typically done through a feint or distraction but is up to the combat participant’s player and the Game Master to justify or describe.
Searching
Combat participants may occasionally choose to take a Search action to find an object or person. Depending on how it is the combat participant endeavors to search, the Game Master may choose between an Artifice and Awareness check. A Search action consumes 3 Energy Points.
Handling
There may be objects, such as levers, locks, or traps that a combat opponent can interact with. Doing so will prompt a Handling action, which consumes 2 Energy Points, and may prompt a skill or attribute check depending on the effort required.
Readying An Action
A combat participant may prepare a particular action with a specific trigger and carry it out as a Reaction before the start of their next turn. For example, a player may specify a readied action as activating a lever for a trapdoor if the target moves on top of it. Another example could be readying a weapon attack action if their target attacks someone in particular. In both cases, there is a specific action and trigger. If the trigger never occurs, then the Readied action is spent without the desired outcome. The Energy Point cost of readying an action is equivalent to the action itself.
Energy Points
At the beginning of each combat participant’s turn, they are allotted 3 Energy Points. Energy Points are a resource consumed to perform all actions within combat. Actions may cost more than one Energy Point — for example, some advanced spells and features may cost 2 or even 3 Energy Points.
Exhaustion, which is covered later in this chapter, can impact the amount of Energy Points that you generate at the start of each of your turns. That will be explained in the Exhaustion section.
Movement
A movement action may not be broken up by other actions. For example: if your movement action allots you 30ft of movement, but you moved 10 feet and then attack, you will need to take another movement action and expend another Energy Point to move again — even if you have not consumed all of the movement distance of your movement action.
Reaction
Some general abilities, class traits, and spells permit combat participants a Reaction. A Reaction is an action type that does not consume Energy Points and is performed outside of a combat participant’s turn. Every round, a combat participant may use a single Reaction, which may be triggered whenever the ability, trait, or spell prerequisites are met. A Reaction can interrupt another combat participant’s turn, which they may resume after the Reaction is completed.
Doom Checks
TBD.
Treat Wounds
TBD.
Making An Attack
Attack rolls for melee weapons ranged weapons, and spells are all conducted in the same manner:
- Select a Target. Choose a critter, an object, or a location within your attack’s range.
- Include Modifiers. The Game Master and player work together to apply relevant modifiers, such as status conditions, weaknesses or resistances, and Boons or Blunders that would impact the attack roll.
- Resolution. You make an attack roll. If it meets or exceeds the target’s Defense Rating, the attack hits. On a hit, roll damage unless otherwise specified.
Attack Roll
An attack roll determines whether or not an attack hits the target by meeting or exceeding the target’s defense rating. An attack roll is 3d6 + an applicable Attribute modifier + an applicable Aptitude modifier. The Attribute modifier is determined by the weapon set or spell description. An applicable Aptitude modifier is determined by background or class traits.
Defense Rating
For an attack to land on a target, the attack roll must meet or surpass the target’s Defense Rating. The Defense Rating is a numerical value determined by combining the character’s Knack attribute modifier and any Armor Bonus from the armor they are currently wearing.
Armor Bonus
Armor bonuses are numerical values stated in the description of armor and apparel sets. This value is combined with the character’s Knack modifier to determine their Defense Rating.
Successive Attack Penality
As you conduct numerous attacks during a single turn, your character will become less accurate, reflected by incurring a Successive Attack Penalty. The second time you use an attack on your turn, it suffers from a -3 to its attack roll. The third time you use an attack on your turn, it suffers from a -6 on its attack roll. Some Weapon Sets, Class Traits, Spells, or other abilities may mitigate or outright avoid counting against the Successive Attack penalty — always read your attack’s descriptions carefully to ensure you are aware of this.
Calculating Damage
TBD.
Survival Basics
Survival Mechanics
Surviving in the Skitterbarren is often fraught with peril. Monsters lurk through and along rivers, amid cliffs, and between dunes. Raiders, bandits, and ner do wells maraud across the wastes in search of easy prey and fast loot. However, the environment can be a struggle to survive in of itself. In this section, survival elements like inventory management, provisions, and exhaustion are discussed. These can be included or discarded based on party preference, but it is encouraged to at least give these systems a try.
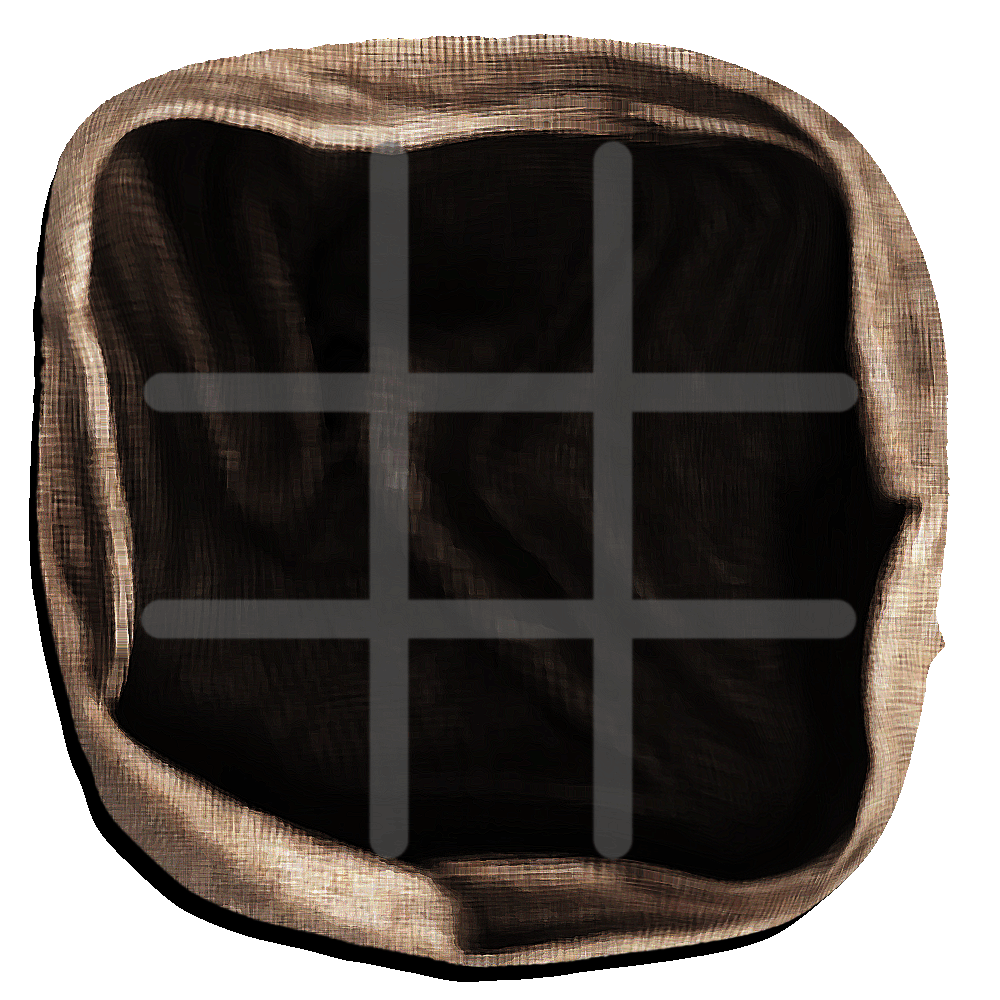
Inventory
Player characters possess an inventory with which they hold various items including currency, loot, provisions, weapons, clothing, armor, and anything else an adventurer may need to carry with them. A player character’s inventory is comprised of a grid, determined by the type of bag they have equipped. Items are represented by cards, which fill the squares of the grid. Some cards are larger than others, consuming more grid spaces to represent the size and weight of the item.
Player characters will start with a standard Adventurer’s Rucksack during the character creation process, which provides a grid with 9 spaces. During a campaign, players can purchase or loot new bags that have additional inventory spaces. However, larger bags may have a Brawn requirement to equip, which is listed in the respective bag’s item description.
Provisions
Provisions are an item and resource type, representing the food and vittles necessary to fuel an intrepid adventurer. One provisions item is consumed every day. If players go more than one day without food within a 7-day week span, they will suffer one point of Exhaustion. Exhaustion is a mechanic that will be described below and can inflict noticeable penalties on members of the party, especially depending on its severity.
Provisions can be affordably resupplied when visiting various settlements, such as villages, towns, and cities. However, sometimes quests and adventures will take the party out of reach of any opportune resupply location. In these situations, players can resort to foraging. To forage, a player can roll an Awareness skill check to find a source of food. If successful, they may retrieve the foraged foodstuffs or provisions as their representative item card and place it into their inventory.
Depending on the foraged source, the food may need to be prepared — which will be stated in the item card. To prepare the raw foodstuffs and transform them into a usable provisions item, the player assigned to the task will need to roll an Artifice check. On a success, the raw foodstuffs are transformed into a usable provisions item. On a failure, the foodstuffs are transferred into soiled provision, which can cause illness.
If raw or ill-prepared food is consumed, affected players will need to roll a Vigor skill check. On a success, players will stomach the contaminated foodstuffs. On a failure, they will suffer from the Food Poisoning status condition, which is described in the Status Conditions section in a later chapter.
Exhaustion
While exhaustion is described in detail in the Status Conditions section in a later chapter, it is important to describe their impacts here as well. Exhaustion has three points of severity: Exhaustion 1, Exhaustion 2, and Exhaustion 3. All three forms of Exhaustion will impact carrying capacity, Exhaustion 2 will affect attribute and skill check outcomes, and Exhaustion 3 will even reduce a player character’s combat capabilities..
| Exhaustion Level | Description |
|---|---|
| Exhaustion 1 | The player character’s inventory grid is effectively reduced by 2, instead filling the squares with Exhaustion cards. If the inventory grid is full of items, items of your choice will need to be discarded to make room for the exhaustion cards. |
| Exhaustion 2 | The player character’s inventory grid is effectively reduced by another 2, filling the squares on the grid with more Exhaustion cards. If the remaining inventory squares are full of items, two more items will need to be discarded to make room for those Exhaustion cards. All skill and attribute checks are reduced by 2 for the duration of this status condition. |
| Exhaustion 3 | The player character’s inventory grid is effectively reduced by another 2, filling the squares on the grid with more Exhaustion cards. If the remaining inventory squares are full of items, two more items will need to be discarded to make room for those Exhaustion cards. Lastly, the available Action Points granted to a player character at the start of every turn are reduced by 1. |
These levels of Exhaustion stack on each other and, at Exhaustion 3, the player character’s inventory is effectively reduced by 6 spaces, all skill and attribute checks are reduced by 2, and their Action Point pool at the start of every turn in combat is reduced by 1.
Survival Mechanics
Rest is a critical component of survival in Skitterbarren. Once every day, characters can consume 8 hours of the day for a Long Rest. Engaging in combat, lengthy physical tasks that require skill or attribute checks, or otherwise disrupting the restfulness of the Long Rest can nullify any benefits at the Game Master’s discretion.
In settlements, such as villages, towns, and cities, players may find shelter, whether by procuring a room at an inn, finding some sympathetic townsfolk, or just making use of a vacant stable. However, in the wilds, wastes, and deserts of the Skitterbarren, no such infrastructure exists. As such, the party must employ the use of bedrolls and camp kits. Without them, they run the risk of an ineffective Long Rest.
If, for whatever reason, the Long Rest is jeopardized — whether for the lack of bedrolls and camping kits or if the party is ambushed during the rest period — the Game Master may choose to roll 3d6 and must meet or exceed a Difficulty Rating of 5. On success, the party manages an effective Long Rest in spite of the challenges. On a failure, the Game Master acquires 1 Blunder and the party does not gain the effects of a rest period.
During an effective rest period, all player character’s health is regenerated and any expended class resources — including Wyrd — are regained unless otherwise specified.